Buying a violin is all about finding that sweet spot “Goldilocks zone” between your ability, the sound you are after, instrument quality and your wallet.

I wrote this 2 pager on buying a violin awhile back for a local school at their request and thought I would share.
Here is my companion video, if you have a spare 5 minutes
A violin is a surprisingly robust instrument, though must be treated with care. A handmade violin takes 100’s of hours to make and today most student violins come from China.The quality can be amazing – where there is appropriate quality control. Both a reputable brand and specialist setup and fit can make a real difference. Just like a fit of shoes they need fit well and be of suitable quality.
Buying a violin
Where you are first starting out an entry level violin is fine, as you move through the sizes you might spend a bit more to support the higher level of ability. A full size violin (4/4) is the last you need to buy so you might by a violin for right now ($500) or quite a bit more depending on how much you “love it”. 2nd hand violins can be great value, though they need to be well maintained and parts replaced sometimes. Avoid online violins,. Facebook can be great value but there is no warranty and it may be hiding problems. You generally can’t take it back if its not the right size and it may need further fitting (chin rest and shoulder rest) to fit the player properly.
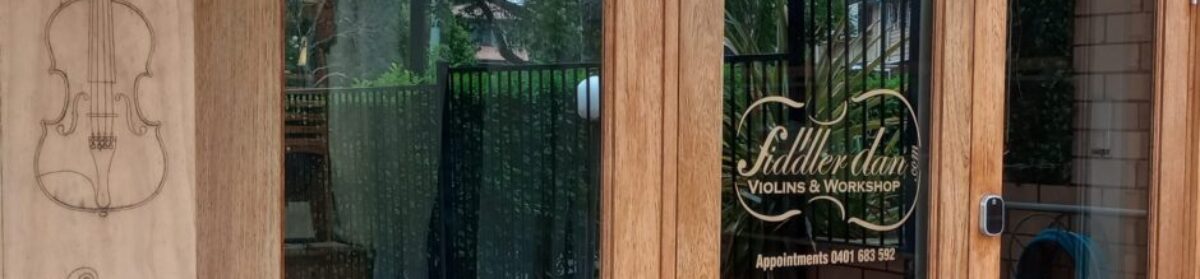
Good Brisbane string stores include Animato, Vivace Violin, Simply for Strings…and yours truly 😉

Sizing
Sizing is really important. you don’t run in shoes too small or large…they must be just right
Sizing is dependant on arm and finger length, check if you can reach the lowest string with your 4th finger properly.
Final fitting involves chinrest and shoulder rest selection for neck sizer and posture.
fidderdan violin guide
Measuring Size
As a rough guide measure from the neck (end of clavical) to finger tip to get an idea of size
Violin
1/4, 1/2, 3/4, 4/4 (46, 50, 55, 57cm)
Viola (sized in inches)
11”, 12”, 13”, 14”, 15” (38, 46, 51, 56, 58cm)
For smaller sizes you can restring a violin (11”- 13”)
Cello harder to size age as a guide 1/4, 1/2, 3/4, 4/4 ( 6-8, 8-10, 10-12, 12+), depends on growth spurt, nationality and gender a bit
My Violins
I generally stock the Vivo Neo ($275) for 1/4, 1/2, Neo + for 1/2, 3/4, 4/4 ($325). Vivo & Hidersine higher grade instruments for 4/4 (from $400), and a bit more for violas. and restored European instruments as well. These instruments have a good sound for the price and are sometimes rebranded by other music stores.
I also have 2nd hands that I have brought up to standard from around $150, I take and encourage trade ins. new instruments have a 1 year warranty and secondhand 3months.
new cellos from about
Strings and accessories
Steel string replacements eg “Clarendon” for $25, 40, 80 (violin, viola, cello). Synthetic core better strings from $60, 80, 120 (violin, viola, cello). Shoulder rests are around $30 and replacement rosin is $10 for quality student rosin. Bows are around $60 violin and a bit more for viola cello
When to visit
Come see me once a year, or earlier if you notice something. If your bridge falls over or the sound post inside comes loose, worry not these are easy to fix.
For any misadventures of a more serious nature – many things can be repaired and I am happy to advise if its cost effective or not.
Maintenance
Treat your violin like a baby, never leave in a car or in the sun.
Only play with clean hands
Unwind your bow after practice so the bow hair can rest – it gets tired too
If pegs are hard to move or slipping they need a service – otherwise damage to the instrument may result
Wipe string and body down after use with a soft cloth, you can moisten with your tongue only
Apply rosin sparingly…you don’t want clouds of rosin coming off your bow
The bridge should stand perpendicular at the back, if its not see your teacher…or me Watch strings for wear, when one breaks others aren’t far behind.
Have fun!


